Have you ever used any generative AI instruments to perform fixes and tweaks that you just might need in any other case not been capable of do (or justify the time to work on)? Screenshot by David Gewirtz/ZDNET
With out AI’s assist, frankly, I would not have bothered.
Right now, I am going to present you ways I chosen and used three AI instruments to assist enhance a brief informational video for my YouTube channel. One device rescued your entire little undertaking, and the others punched up the top consequence. For this undertaking, we’ll be utilizing Adobe’s Photoshop Beta, Adobe Podcast, and the most recent model of Apple’s Closing Reduce Professional for Mac.
Additionally: How does ChatGPT truly work?
Contents
- 1 The undertaking
- 2 AI #1: Utilizing Adobe Podcast to wash up horrible audio
- 3 AI #2: Utilizing Closing Reduce to separate performer from background
- 4 AI #3: Utilizing Adobe Generative Fill to wash up the background
- 5 Compositing the video picture
- 6 Utilizing Photoshop AI to maneuver me and repair a window shade
- 7 AI to the rescue
The undertaking
I had discovered methods to remedy an issue with my Glowforge, a laser cutter utilized in many maker tasks. I am utilizing it to make acrylic two-color labels for the particular adapters I 3D-printed. The adapters connect varied instruments to the mud collector I take advantage of in my workshop. The video was a easy walkthrough of the issue (the ensuing laser lower was the unsuitable measurement) and the answer (a checkbox in an choices dialog).
Within the video, I am principally sitting and speaking in entrance of the laser, with some photographs and screenshots sprinkled all through as an example points of the answer.
As a result of this was a fast informational video, I did not put loads of effort into the manufacturing design — and it confirmed. Worse, one thing went very unsuitable with the audio. Let’s begin there.
AI #1: Utilizing Adobe Podcast to wash up horrible audio
For some cause, my mic did not file clear audio as I used to be studying from my script. I made this video principally so I would have a reference for a way I solved the issue if I encounter it once more, and to share the answer with different Glowforge customers.
But it surely simply wasn’t price going again and organising the digital camera and prompter, and doing the speaking head bit once more. Here is an eight-second pattern of the unique audio:
As you possibly can hear, it is fairly tough. I’ve tried to wash up different audio earlier than, and the outcomes are by no means significantly good.
To make this work, I began with the unique MP4 video recorded on my iPad. I used QuickTime to export the audio monitor, an M4A file. Sadly, Adobe Podcast would not assist M4A. I’ve a Artistic Cloud license, so I went into Adobe Audition, opened the M4A, and saved it again out as a WAV. (You too can use the free open-source Audacity program to do the identical factor.)
Additionally: These are my 5 favourite AI instruments for work
I then pointed my browser to Adobe Podcast, which is Adobe’s experimental AI audio tweaking device. (It isn’t just for podcasters. I am utilizing it to repair my audio for a YouTube video.) This very helpful little suite of audio composition and restore instruments is obtainable to everybody free of charge. Simply join together with your electronic mail handle.
I scrolled all the way down to the Improve Speech choice, hit the Attempt It button, and uploaded my audio monitor.
Here is what I acquired again a couple of minutes later:
Wow, that is an enchancment! Like evening and day, is not it? All I needed to do within the video editor was drop out the unique audio monitor and drop this one in. It took me possibly 10 minutes total, as an alternative of what might have been hours of frustration that might have netted me a consequence not practically pretty much as good.
AI #2: Utilizing Closing Reduce to separate performer from background
When Closing Reduce Professional 10.6.6 was launched on Might 23, it included a brand new AI-powered masking device, the Scene Removing Masks. This device offers inexperienced display performance with out having to make use of a inexperienced display.
Here is the way it works: You seize a second or two of video with simply the background (with out the topic within the body). You then seize your regular video. If you happen to apply the Scene Removing Masks to the video, you possibly can drop the background out from behind the speaker. At that time, you possibly can put something behind the particular person within the video.
Additionally: Mass adoption of generative AI instruments is derailing one essential issue
I began out with a two-minute video that seemed like this:
The Scene Removing Masks allowed me to drop out the background. As soon as the background was gone, I might additionally enlarge myself to raised fill the body:
However there have been nonetheless points with the background that I wished to repair. For that, let’s swap to the brand new Photoshop Generative Fill options, after which we’ll come again to Closing Reduce to wrap issues up.
AI #3: Utilizing Adobe Generative Fill to wash up the background
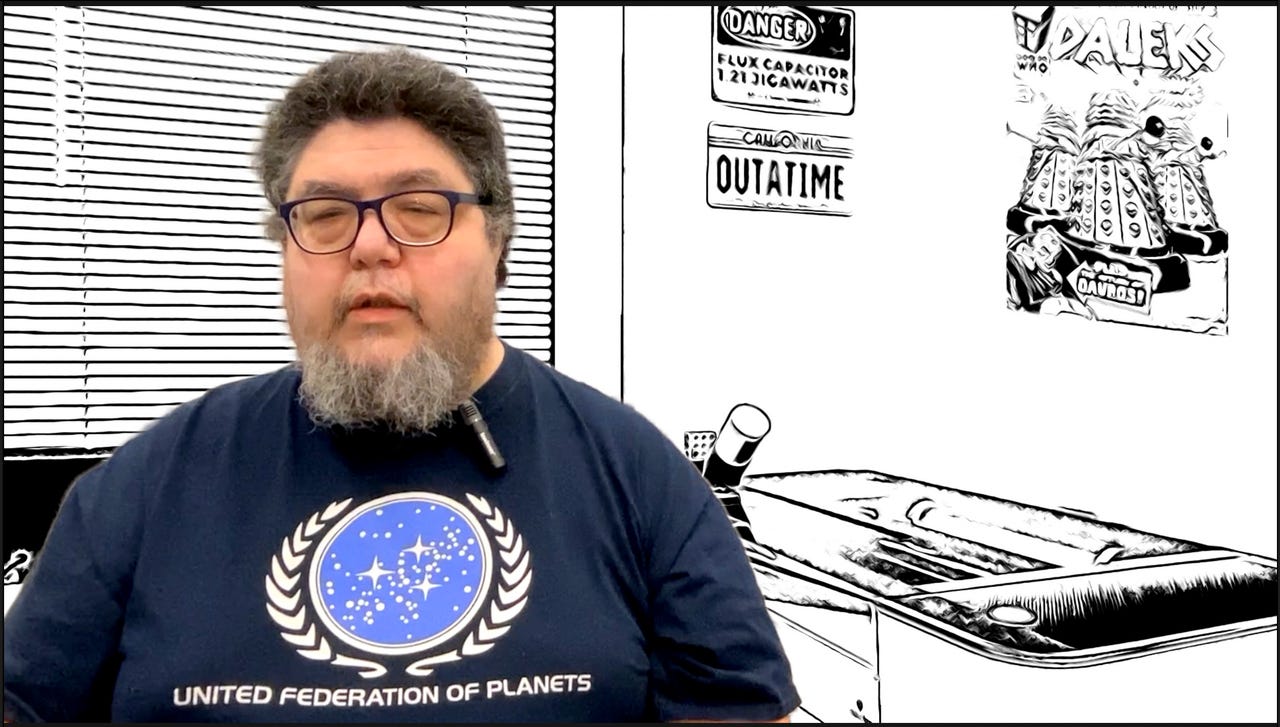
That is what the digital camera noticed behind the place I used to be sitting doing my speaking head bit:
The very first thing I wished to do was take away the 3D printer that was blocking the nook of the Glowforge:
Discover the printer within the picture on the left. I drew a variety space across the printer and, within the Photoshop beta, I clicked on Generative Fill. Photoshop knew to take away the 3D printer, draw within the lacking space of the wall, and — this is what amazed me — the AI drew in the remainder of the Glowforge (together with the feel and contours) that have been initially lacking from the picture.
I made a decision the wall was a bit clean, so why not use an old-school Photoshop characteristic and add a poster? I discovered an image of an important Daleks poster from Physician Who, used Photoshop’s non-AI distort characteristic with a mix mode, and added it into the background.
Additionally: The 4 greatest free video enhancing apps: Free however highly effective software program
We’ll return to the AI Generative Fill in a couple of minutes, however let’s first composite up the modifications we have made up to now.
Compositing the video picture
Again in Closing Reduce, I introduced within the new background picture I would modified in Photoshop. There are three monitor layers right here: a compound clip on the underside layer that integrates the beforehand repaired audio, the modified background picture, and a masked model of my speaking head scaled to suit over the background:
However since I had the “masked” me floating above the background, I made a decision I might tinker with the background. So, for my opening teaser clip, I utilized the usual non-AI Comedian Ink impact and positioned myself over an ink-style background:
Then, on the finish of the video, I changed the background with a YouTube channel identifier. This was additionally super-easy as a result of I already had the masked clip of my speaking head.
With that, the video was achieved. However I nonetheless had yet another place the place I wanted AI’s assist.
Utilizing Photoshop AI to maneuver me and repair a window shade
Whenever you’re making a YouTube video, the video thumbnail is commonly as essential — some say extra so — because the video itself. That is as a result of it is the thumbnail that catches viewer consideration and will get your video seen.
My channel’s thumbnail format has phrases on the left and backside, and a picture on the best. That picture is normally a photograph of me within the context of regardless of the video is about. The issue was that my speaking head was on the left aspect of the display.
Additionally: The best way to use Photoshop: 5 primary steps to edit a photograph
This might have been a straightforward repair in Closing Reduce. However I wished to make use of Photoshop’s new AI background removing characteristic as an alternative. So I saved a body from my video and pulled it into Photoshop. I then used the brand new Photoshop AI background removing device to masks out the background, and slid my picture to the best:
I then composited the background picture — the picture that I would beforehand ready for Closing Reduce below the masked picture of me — and added within the model styling for my channel. That included the textual content in regards to the video, the little robotic emblem, and the yellow sunburst bar alongside the underside:
Sadly, the grey Glowforge exhaust vent space (with mini Spock, Kirk, and Lab Bear) proved distracting within the thumbnail. Thumbnails on YouTube are a lot smaller than the picture you see above; when sized so small, it merely did not look proper. The crimson field within the photograph above exhibits the world of concern.
What I actually wanted to do was prolong the white blinds down by way of the distracting space. Sadly, it was loads tougher to clone the blinds than you’d anticipate. I attempted utilizing the Photoshop Clone Stamp device and even tried to chop, paste, and warp a part of the blinds, however it simply did not come out proper.
Additionally: The best way to create Photoshop actions to share or promote
I believe that is as a result of the blinds aren’t strictly parallel within the picture. They’re parallel in actual life, however the image is taken from an angle, which makes each blind component a barely completely different form, with a barely completely different angle.
So, I went again to the Photoshop AI Generative Fill characteristic. I turned off the layers with the textual content and with me, chosen a rectangle across the grey space, and hit Generative Fill. As you possibly can see, the newly generated shades are practically excellent:
And this is how the total video thumbnail appears to be like, with the litter eliminated, the brand new shade space added, and my picture moved to the best:
AI to the rescue
We’re used to splashy particular results when watching a big-budget blockbuster sci-fi film or TV present. However highly effective particular results may be at play in even probably the most mundane productions.
My video is just two minutes and 41 seconds lengthy. All it does is present methods to choose a checkbox in Adobe Illustrator. And but, it makes use of a complete array of particular results, designed to make the manufacturing look and sound higher.
However this is the factor: As a result of that is such an earthly video, there isn’t any means I might have justified the hours it could take to masks out my transferring head and torso frame-by-frame. It may not even have been price making an attempt to clone and replicate the portion of the Glowforge obscured by the 3D printer within the background picture. And I actually did attempt to prolong the blinds utilizing conventional Photoshop instruments and gave up after about an hour.
Additionally: The most effective AI artwork turbines: DALL-E 2 and different enjoyable alternate options to attempt
And check out as I would, I simply haven’t got the audio engineering chops to wash up the audio that went so unsuitable throughout recording. However with the assistance of AI, I used to be capable of clear it up in post-production.
Every of the AI instruments took 5 to 10 minutes to make use of. All advised, this is a abstract of how I used the AI instruments:
- Adobe Podcast Improve Speech: To scrub up ruined audio.
- Closing Reduce Professional Scene Removing Masks: To take away the background so I might scale and transfer my speaking head and torso (which allowed for 3 customized backgrounds).
- Photoshop Generative Fill: To take away the ugly 3D printer and prolong the Glowforge within the background picture.
- Photoshop Background Removing: To take away my head and torso from the background so I might transfer it to the best and supply house for textual content.
- Photoshop Generative Fill: To increase the shades to wash up a cluttered picture.
I used these along with the common suite of instruments I’ve used for years in Closing Reduce and Photoshop. However realizing how arduous these 5 AI-assisted results would have been with out AI, I can let you know I most likely would not have achieved them… and presumably wouldn’t have launched the video.
Additionally: Closing Reduce Professional on the iPad: A surprisingly touching expertise
Sure, I am involved about how generative AI will affect employment (particularly when loads of low-end writing work may be changed by an AI). However these 5 AI-generated fixes saved me an incredible period of time, dealt with issues that I did not have the ability set to do myself, and yielded a way more enjoyable and fascinating video — a video undertaking I might need simply tossed apart as a result of, with out these AI instruments, I could not get it proper.
Here is the way it all got here collectively:
Have you ever used any generative AI instruments to perform fixes and tweaks that you just might need in any other case not been capable of do (or justify the time to work on)? Tell us within the feedback beneath.
You possibly can observe my day-to-day undertaking updates on social media. Remember to observe me on Twitter at @DavidGewirtz, on Fb at Fb.com/DavidGewirtz, on Instagram at Instagram.com/DavidGewirtz, and on YouTube at YouTube.com/DavidGewirtzTV.
Unleash the Energy of AI with ChatGPT. Our weblog offers in-depth protection of ChatGPT AI expertise, together with newest developments and sensible purposes.
Go to our web site at https://chatgptoai.com/ to study extra.